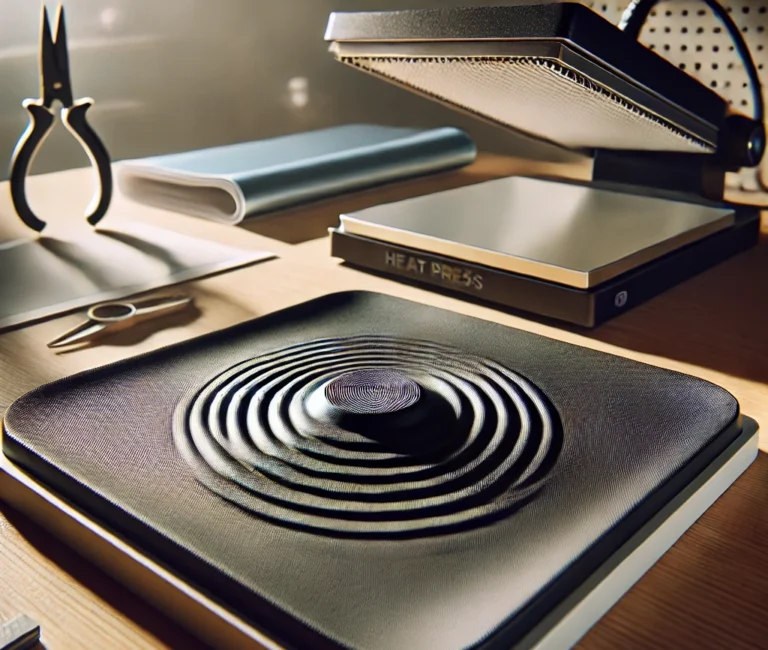
A heat press is an essential tool for creating custom apparel, mugs, and more. However, a raised bump on the heat press platen can cause uneven pressure, leading to flawed prints and wasted materials. In this article, we’ll explore why this issue happens, how to identify it, and the steps to fix it for professional-quality results every time.
Understanding the Problem
The heat press platen is the flat, heated surface that applies pressure and heat to your substrate (like fabric or paper). A raised bump disrupts this uniform surface, which can result in:
- Uneven transfer of designs.
- Poor adhesion of heat transfer vinyl (HTV) or sublimation ink.
- Damage to your materials or substrate.
What Causes a Raised Bump on the Platen?
Several factors can lead to a raised bump on your heat press platen:
- Debris or Foreign Objects: Dust, lint, or small objects trapped between the platen and its cover.
- Warping or Dents: Excessive heat, prolonged use, or manufacturing defects.
- Cover Issues: Wrinkles or folds in the protective Teflon sheet or silicone pad.
- Thermal Expansion: Repeated heating and cooling cycles causing material deformation over time.
How to Identify a Raised Bump
Here’s how to check for a raised bump:
- Visual Inspection: Look for visible irregularities on the surface of the platen.
- Tactile Test: Run your hand over the platen to feel for bumps or rough spots.
- Pressure Test: Press a sheet of paper or fabric without applying heat. If there’s uneven pressure, you’ll notice gaps or uneven impressions.
- Level Test: Use a straight edge or level to check the flatness of the platen.
Steps to Fix a Raised Bump
If you’ve identified a bump, follow these steps to resolve it:
1. Clean the Platen Surface
- Turn off and unplug the heat press.
- Allow the platen to cool completely.
- Use a soft, lint-free cloth to wipe down the surface. For stubborn debris, use a mild cleaning solution and a non-abrasive sponge.
2. Check and Adjust the Silicone Pad
- Inspect the silicone pad under the platen for any tears, bumps, or misalignments.
- If damaged, replace the pad. Silicone pads are affordable and widely available from heat press suppliers.
3. Inspect the Protective Cover
- Remove and examine the Teflon sheet or other protective cover.
- Smooth out wrinkles or replace the cover if necessary.
4. Address Warping or Dents
- If the platen itself is warped or dented, contact the manufacturer for repair or replacement options.
- For minor dents, consider using a heat-resistant filler material, but this should be a temporary fix.
5. Prevent Future Issues
- Keep the platen clean and free of debris.
- Use protective covers like Teflon sheets during operation.
- Avoid applying excessive force or heat beyond the press’s specifications.
- Regularly inspect the platen for signs of wear and tear.
When to Seek Professional Help
If the bump persists despite your best efforts, it might be time to consult a professional. Contact the manufacturer or a repair specialist to diagnose and fix the issue. Continuing to use a defective heat press can result in further damage and reduced print quality.
Conclusion
A raised bump on your heat press platen can be a frustrating problem, but it’s one that you can often fix with a little effort. By identifying the cause, cleaning the surface, and maintaining your heat press regularly, you can ensure consistent, high-quality prints every time. Remember, investing time in upkeep can save you from costly repairs and wasted materials in the long run.